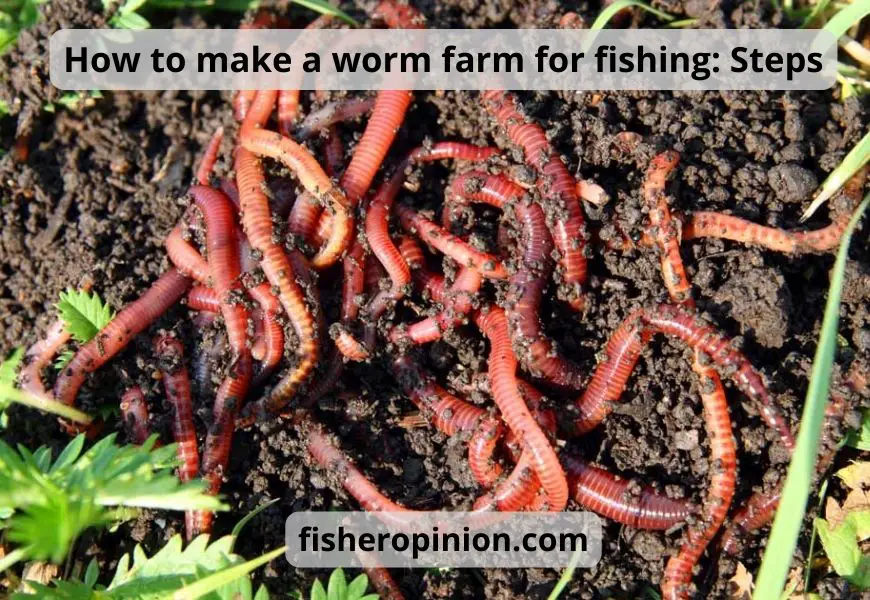
Live bait worms purchased from a store can make an enormous dent in your budget If you’re an avid fisherman. An alternative that is less expensive is to grow the worms yourself in your own worm bed. How to make a worm farm for fishing?
The process is as simple as drilling small holes in a plastic or foam container and then laying down an adsorbent layer of paper then filling it with a couple of inches of pot soil and water. What you get is an extremely moist, nutritious, closed-off environment, which is ideal for breeding a fresh batch of baitworms of your choice.
Types of Fishing Worms
The three types of fishing worms we offer are:
- Mealworms
- European Night Crawlers (Super Reds)
- Red Worms (Red Wigglers)
Utilize your experience in deciding which various worm species to use. Certain anglers recommend mealworms to catch panfish, some prefer the red worm to catch the edible fish species. The majority of anglers believe that the European Night Crawler is perfect for bigger fish as well as fish caught on ice. Panfish enjoy these worms with larger sizes.
Mealworms as Fishing Bait
Mealworms are quite versatile fishing bait. They are a great choice as loose, live food as well as in mixes and pastes or on hair hooks tied to a cork ball and in a range of different types of fishing. The opinions differ as to what kind of mealworm to use, dry or live.
Uncle Jim’s Farm provides live mealworms. Live mealworms are able to be kept for up to nine months in ideal conditions. It’s an art of balancing providing nutrients to help them expand and keep them cool so that they do not develop. If they’re in a warm environment, they could develop into Darkling Beetles. Check out our comprehensive guide on maintaining mealworms.
It is also possible to build your own farm for mealworms. The first step is to buy live mealworms through Uncle Jim’s Worm. The worms will be used to fish before the new mealworms reach the size you want them to be. So, you should order additional mealworms to use for raising worms immediately. Look on the internet for videos and instructions for building a mealworm farm.
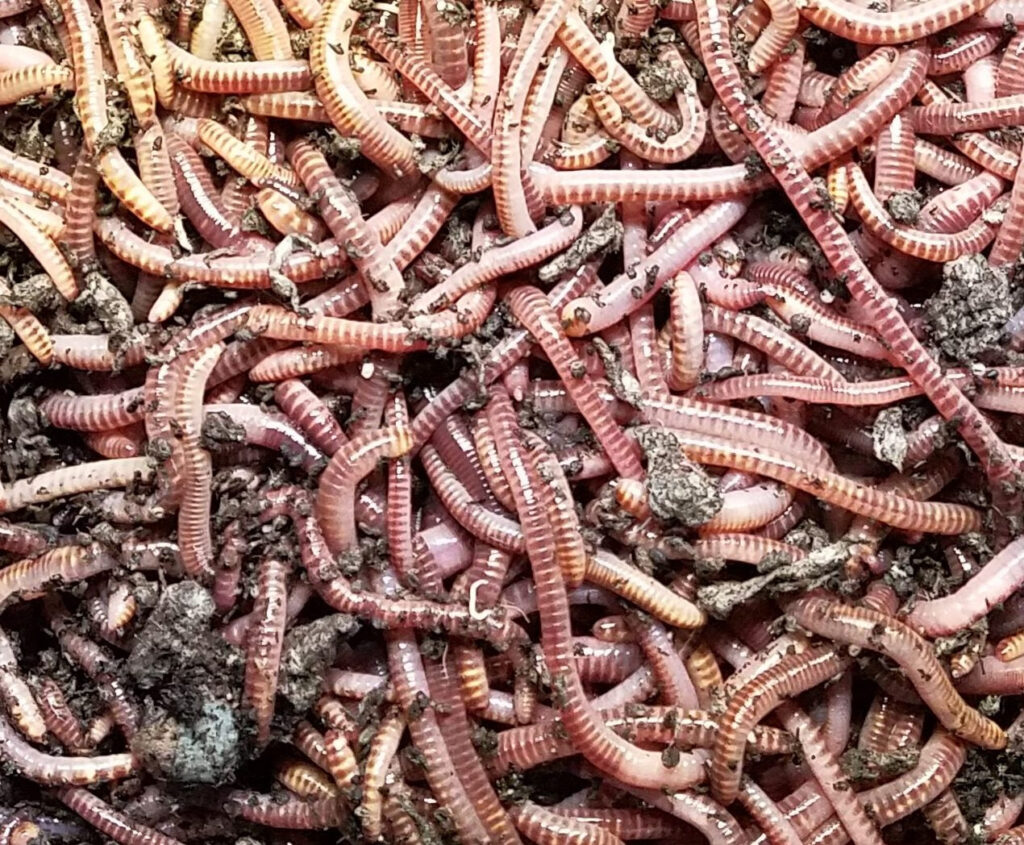
European Night Crawlers as Fishing Bait
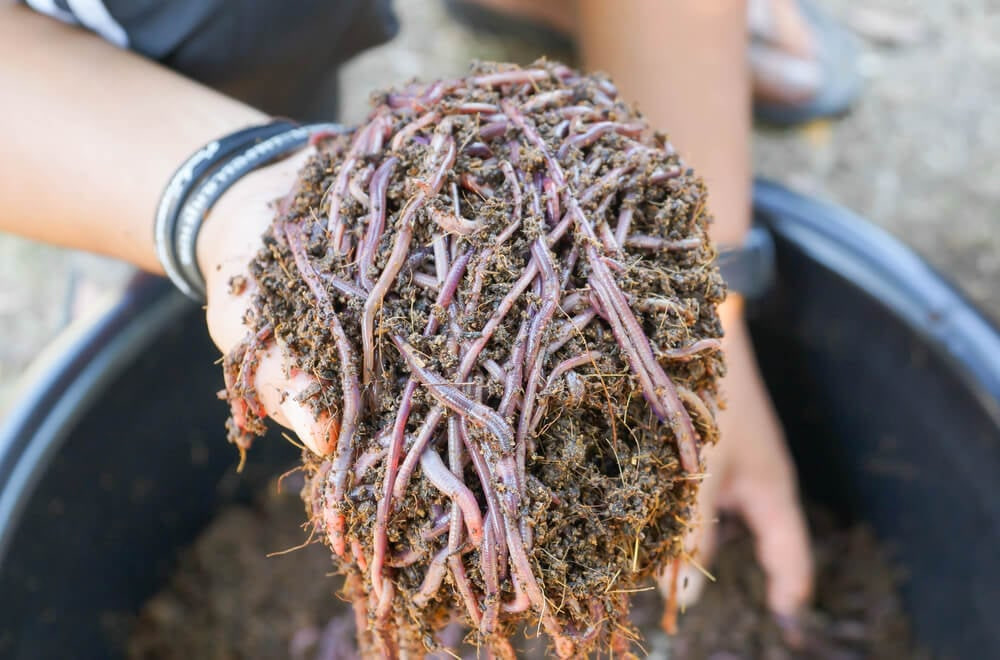
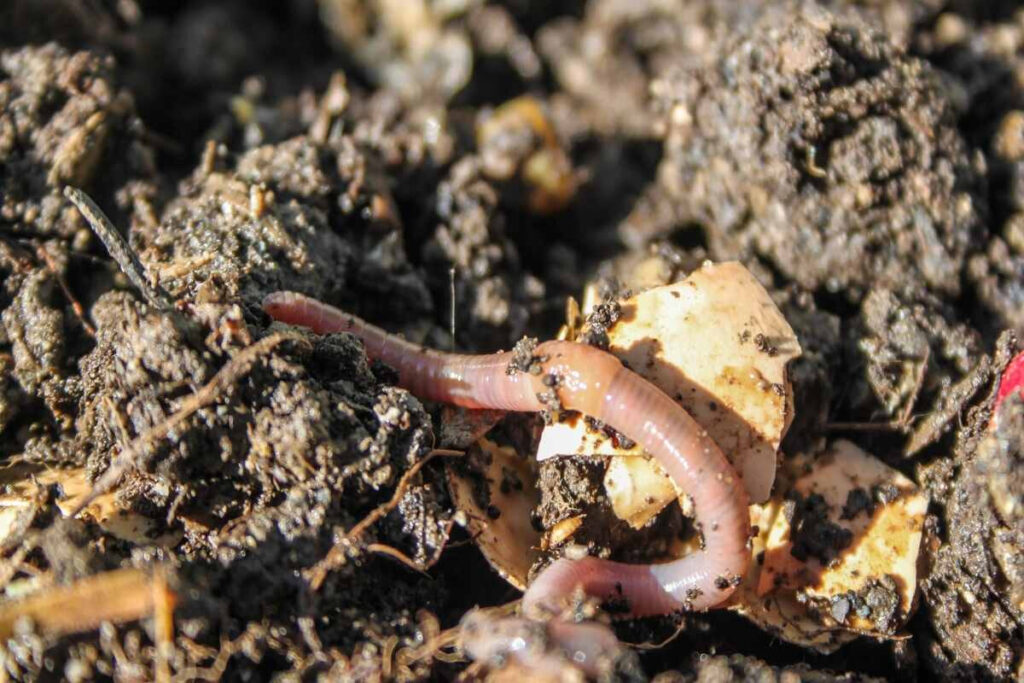
Delicious and succulent, European Night Crawlers are an indulgence that very few fish would want to miss! They can grow from 4” to 5 inches in length These worms that are active can be easily cultivated. The cup-shaped fishing bait is perfect for short or irregular fishing excursions. For avid anglers, it is essential to have constant and convenient availability of live worms.
If you care for your composting worms with care they’ll reproduce. You have to create a place for them to live in. They should be maintained at a suitable temperature. They’ll need to be fed. Composting worms can be a relaxing pastime everyone in the family can take part in. The process also decreases garbage and smell. This is a brief list:
- Locate a good location to put your worm bin or the worm bin that is not too hot and also not freezing cold.
- Buy or build the worm bin. If you are looking for a worm bin to use with European Night Crawlers, Uncle Jim suggests making the bin using the inside of a plastic bag or purchasing the Worm Ranch Kit. Be sure that the bin is equipped with drainage holes, air vents, and lid.
- Place an order for Super Reds (European Night Crawlers) from Uncle Jim’s Farm.
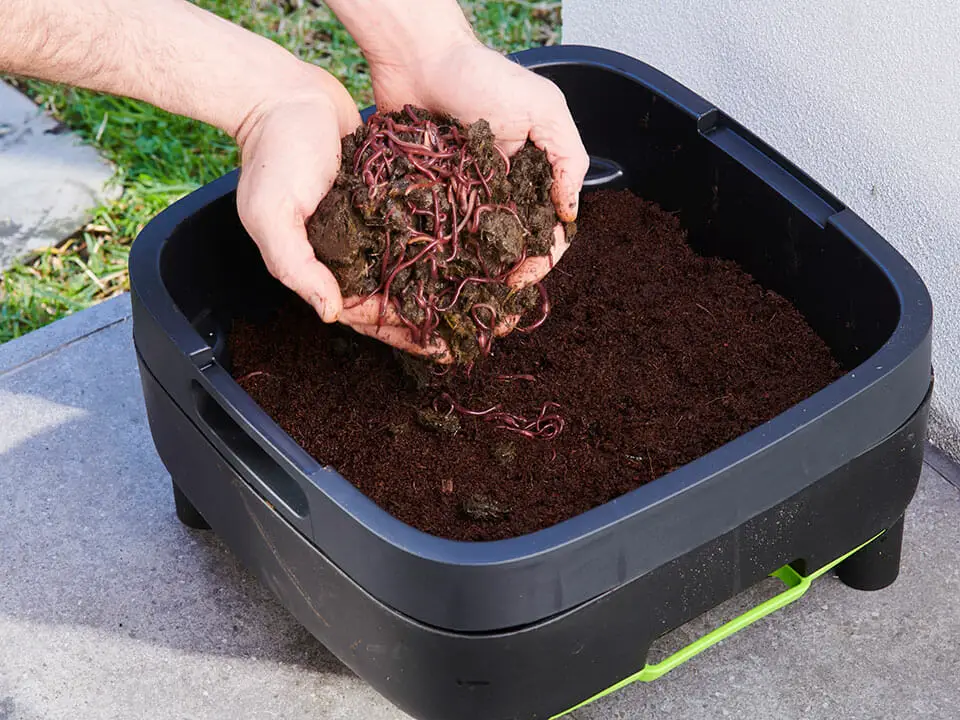
- Make the worm bed in accordance with the instructions. Peat moss that is pure, for example, is a great bedding. It is necessary to dampen and mix the worm bedding until it is as if it’s a sponge that’s been wrung out.
- Put the worms for fishing in the middle of your bedding. Then let them dig.
- Give feeding habits once or twice every week. Refer to instructions for feeding bait worms for fishing.
When you require worms for fishing to go fishing, go in to get them! The bin should be kept dark to make it more likely that worms are nearer than the water’s surface. They are more likely to be within the potting soil. It is possible to use a “fishing bait shop” such as food in order to draw them towards an area.
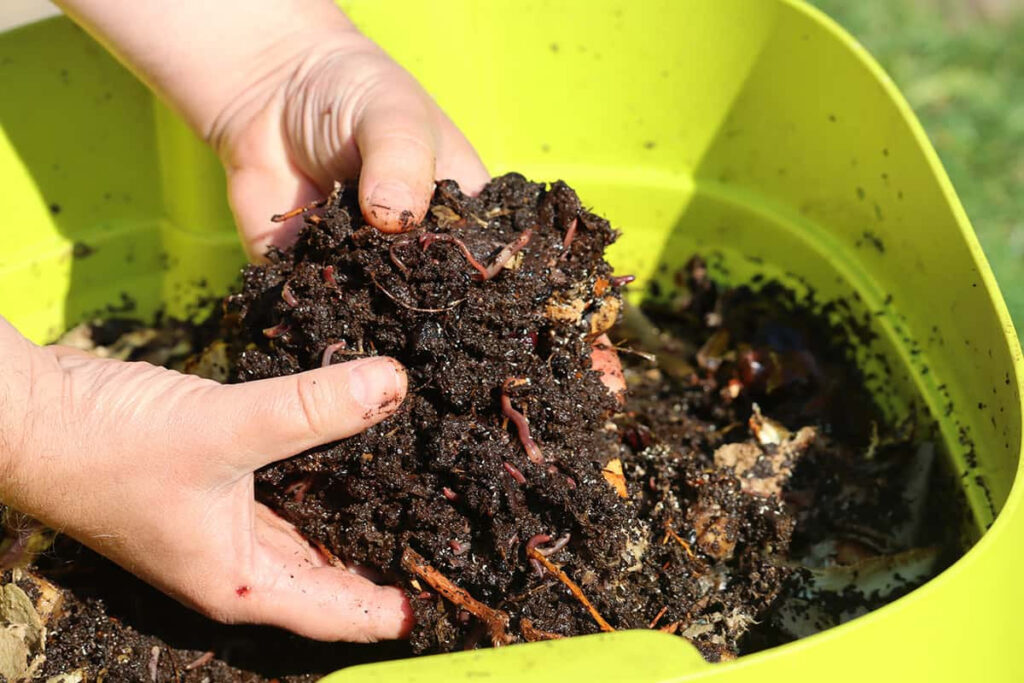
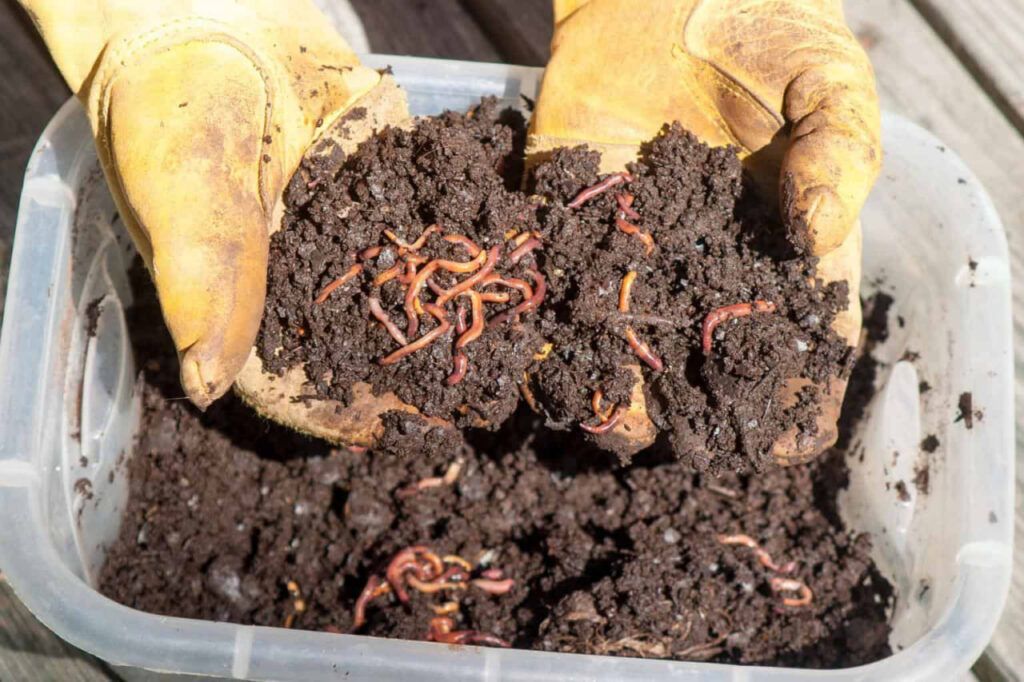
Each 3 to 6 months, harvest some of the waste out of the container. Keep the fatter worms for fishing inside the bin. They will be gradually filled with worm waste (humus). The organic matter is brimming with potting soil-friendly bacteria and nutrients that plants enjoy!
You can incorporate humus in your potted and garden plants. Spray it to make a worm poop tea or mix it with other materials to create begins. If you don’t require it immediately, keep it in a bag or bucket or donate it to a friend.
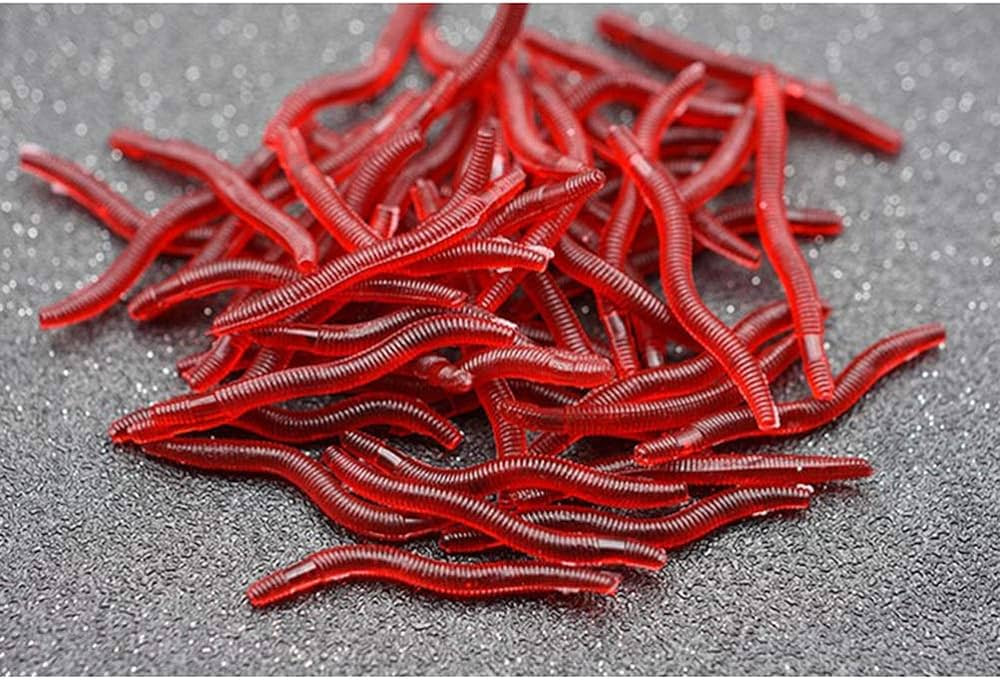
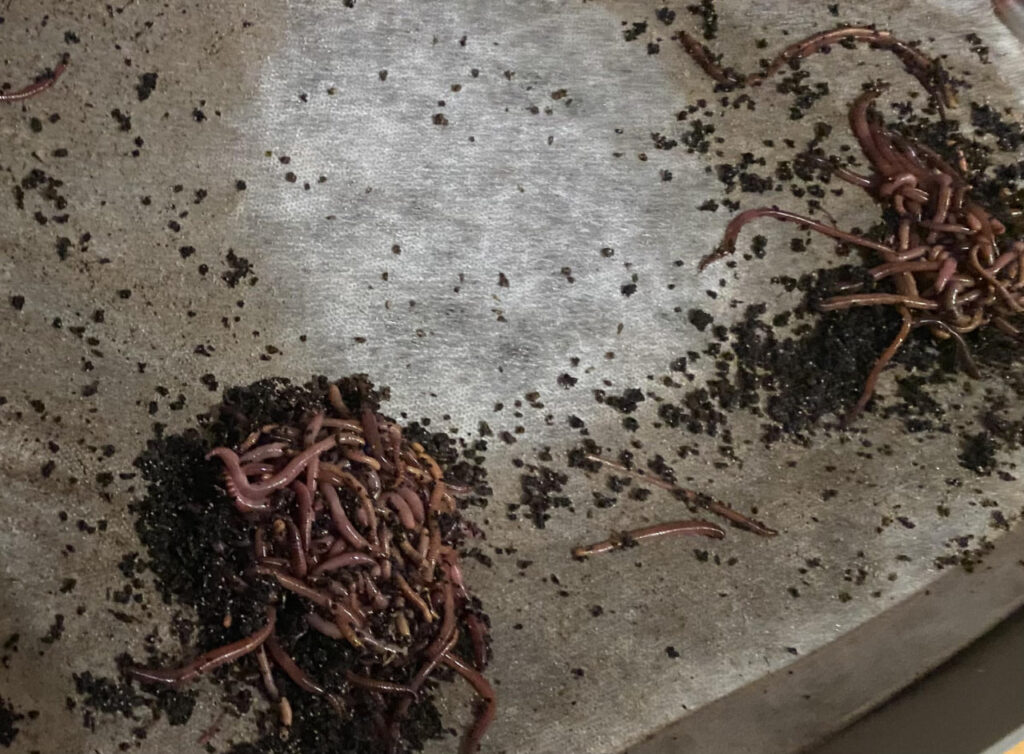
Red Worms as Fishing Bait
Red Wigglers or Red Worms are useful as fishing bait. Less sized than Super Reds, Red Worms are excellent for composting the worms. Anglers use them to fishing for various panfish. Follow our directions on how to set the worm bin.
But, the best choice is to buy worms in the tray-based worm catcher from Uncle Jim’s Farm. Trays make the process of harvesting Humus a lot more simple. In addition, most Worms live within the upper trays. They’ll be easy to locate when you are looking to go out on the surface of the water.
Which is the Best Farm for Fishing?
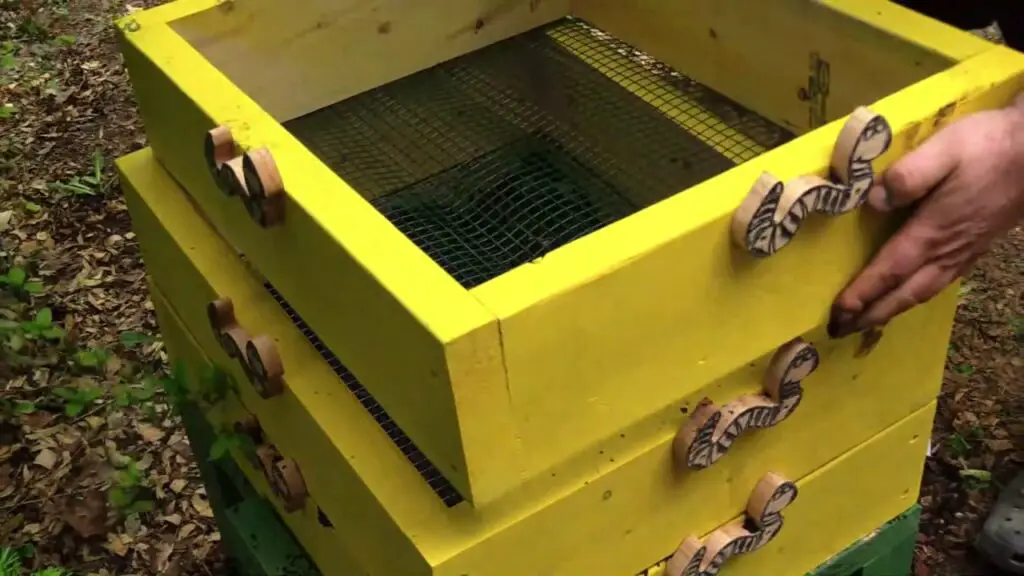
A Ready-Made Stackable Wormery and Farm Starter Kit
A farm that can be stacked is a great option if you are looking to create a complete multi-benefit system within your home.
The wormery functions in an semi flow-through device. The worms are placed in the lower tray, and after that, put the tray next over it and then the next one on top.
The worms continue to work the compost until it’s completely digested and then turned into a stable compost for worms and move on to find new food.
It can take anywhere from 3-6 months for the tray to become ready, based on among other factors how many worms to begin with. It is then able to be used to harvest and use to grow plants.
The number of worms continues to grow worms until it has reached the maximum size for space, at which point there are fewer cocoons to be laid.
Thus, the removal of worms to fishing shouldn’t be a problem except if a fishing trip destroys populations in a significant way – and then you’ll need to wait for casting worms, and then larger worms.
The benefits of a stackable wormery
- Develop and breed your own stock of red wigglers and tiger worms all year long.
- Simple access to and collection of the worms and casting worms at any time: simply remove the top tray, and then you’ll see plenty of worms on the next tray to help you plan your next fishing excursion
- Numerous benefits: Turning food waste that is derived from plants like food scraps and vegetables into worm food, and letting the worms transform this waste into gorgeous worm castings (worm poo) filled with bacteria, nutrients that come from plants, and the digestive enzymes derived from the gut of the worm. The people who have tried this for their plants are awed by the benefits.
Worm castings provide microbial vitality to the potting soil along with nutrients. This is the life of microbials that makes plants more robust, bloom, and produce fruit sooner and more healthy overall.
Pros
- Very Easy to install and keep.
- Simple access to worms at any moment.
- Many advantages It is large enough to manage all the kitchen garbage for small families. The casting of worms for plants means that it is not necessary to buy fertilizer.
Cons
- Seems pricey compared to a DIY wormery box but is the most convenient and easiest to regulate moisture.
DIY Wormery to Grow Worms as Fish Bait
If you’re considering an wormery for the purpose of grow worms baitworms, composting worms, or both, concept and setup is identical. The most important investment to invest in a DIY wormery is a reusable plastic container that has a lid.

The box must have minimum a size equivalent to an A4-sized sheet however, larger is better. The bigger the container, the more convenient it is to maintain your environment secure and to avoid accidents like the overheating. The tigerwormery suggested in the last chapter measures approximately 40cm in size.
What you’ll need:
- A plastic box
- Drill 4 – 6 mm
- Bedding material for worms. Options: compost without any added fertilizer, coir, leaf compost, or even moist (soaked overnight and squeezed out) cut-up brown cardboard will work
- Worms, red wigglers, dendrobaenas tiger worms, or a mix of all is fine
Hot Tip:
If you’re looking to expand the number of worms that you’ve got, be sure to take a look at the conditions of your wormery. The most important factor is number of stockings i.e. the number of worms in a given area. To achieve the highest rate of breeding, 0.5-1 pounds per square foot is a great number to target. However, you could start at a lower weight and it’ll take longer for the bin to fill up.
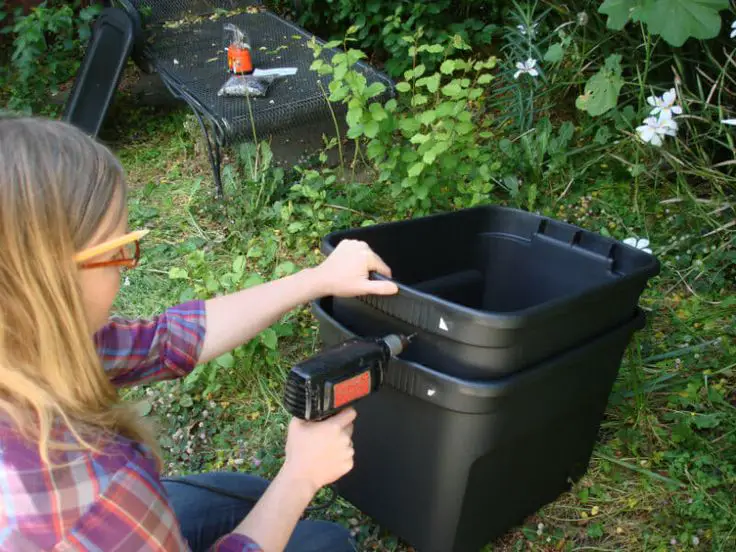
Instructions:
- Make holes in the perimeter of the container to allow the flow of air
- Make holes in the bottom of bin to allow drainage
- Make sure to fill the worm bin up to 2 inches by bedding materials.
- Check moisture level
- Add worms
- A cardboard sheet over the bedding material aids the worms settle.
How to make a worm farm for fishing?
Building a Worm Bed
- Choose an appropriate suitable location for your worm farm. You have the possibility of establishing your worm garden either indoors or outside, based on the conditions of the area you live bait in. If you’d like to put the worm bed outside, select the spot that offers ample shade. It’s best to choose one with a cover to prevent rainwater. If you’d rather put it inside, you can set the space aside in your basement, garage, garden shed, or on a porch that is screened in.
- It is possible to keep an outside worm garden all year long and in any place that’s not prone to freezing in winter seasons.It’s not an ideal choice to have worms residing in your home. In addition to the fact that your bed will be a source of unpleasant odor There’s always the chance that a worm or two may escape from the containers.If you’re trying to cut down on time, then you could purchase a worm farm instead of constructing your own.
- If you’re a professional through a toolbox, think about creating your own custom wormbed to meet your own requirements using the materials of your you choice.The precise dimensions of your worm farm don’t matter. It’s important to provide the space you need to be enclosed and have enough space to accommodate your worms in a comfortable manner.
- You will need to drill a set of holes at the sides and at the top in the bottom of your containers. Fit your drill using a 1-inch (2.5 centimeter) hole saw, and drill a hole in the top of each one of the containers’ walls. Switch to a 1/8or 1/4 inch (0.32-0.64 centimeter) bit, and make three holes into the lower part of the container close to each corner. You should leave 2 to 3 inches (5.1-7.6 centimeters) of room between each of the holes.
- Do not use a size greater than 3/8 inches (0.95 centimeters) and smaller varieties of worms could manage to squeeze to the surface.
- The big holes on the uppermost part of the container let your worms breathe within the lidded container and the small holes on the bottom will eliminate any water that is not needed and other waste materials.
- Create a 1⁄2 in (1.3 cm) layer of preliminary bedding from shredded paper. Break up sheets of newsprint, printer paper or thin cardboard into 1-inch (2.5-5.1 millimetres) pieces. Spread pieces of them across the top of the empty container. Be sure to scatter the bedding as evenly as you can to ensure that there aren’t obvious mounds or empty spots.
- A shredder for paper can swiftly reduce bedding materials to small, uniformly-sized pieces, provided you’re able to access one.
- Beware of any scrap newspaper printed with colored dyes. They are toxic to a variety of species of worms.
- The bedding material should be covered with 3 to 8 inches (7.6-20.3 centimeters) of pot soil. The exact amount of soil that you use depends on the total dimensions of the container. The soil should be sifted until your container is at least three-quarters overflowing, after which you spread it around to make sure it’s smooth and level. Be sure to leave enough soil available for the worms to go through.
- Any organically balanced potting soil works perfectly.
- Take out any large chunks of peat moss or soil using your hands.
- Just enough water to completely moisten it. Pour the water into the container bit at a time, turning the soil using your hands or hand trowel while you move. Once you’ve completed it should be damp but not wet. It will be a sign that it has achieved a decent quality when it starts to clump easily.
- Make sure to not add too much water so that it is able to begin pooling at the top of the soil. A lot of water can expose your worms to drowning.
- After the initial irrigation, it is important to provide the soil with a thorough sprinkle every now and then (at minimum once every couple of days) to ensure it stays wet.
How and What to Feed Worms for Fishing
Worms consume much in relation to their weight. They can mean that they consume up to their weight in one day. It all depends on the environment (temperature) as well as the kind of food, as well as how hard it feels. It’s best to stay cautious and only feed 1/3 of the the worms initially. This is to keep the bin from going away and turn anaerobic stinky.
If you are unsure of the type of food you can give to your worms, you’ve got several options to choose from:
Level 1: Food to Keep Worms Alive and Happy:
Food waste suitable for kitchen use: Any leftover fruit or vegetable scraps.
Certain foods should be avoided in the event that the container is intended to be positioned inside. They are plants that smell bad after rotting, similar to onions or cabbage veggies. The reason for this is not to safeguard from worms, but rather your personal nostrils. Actually, worms are fond of onions.
Fruit can be a magnet for fruit flies, particularly in hot weather, so be sure that you place them under an encasement of worms or cover them with moist newspapers.
Level 2: Food to Raise Bigger Worms and Encourage More Breeding
Manure from a cow, aged horse manure, or sheep. Manure is a favorite of the critters (stay clear of chicken manure as it can cause death) after some time, you will notice a significant difference in dimensions on manure-based diets in comparison to kitchen scraps.
Level 3: The Ultimate Worm Food – for Lazy Feeding and Maximum grow worms
It is possible to purchase ready-made Worm food, which is generally made up of worms and turn a (secret) mixture of trace elements and cereals that aid in development and breeding.
For use, sprinkle a little bit of the powder on your worms twice a week.
Include it with your normal food waste to make your wormery. Add one or two small pieces once to once a week, depending on the dimensions of the bin.
Put the food items on top of the garbage bin so that worms can leave if they consider the food harmful, for any reason It’s also simpler for you to track what amount of food was consumed.
Tip: Combine torn white cardboard pieces together with food waste in order to soak up liquids and prevent the compost of worms becoming excessively anaerobic. Around the same amount of food waste can be used. The worms eat the cardboard once it becomes soft.
How often should you feed?
Worms are able to survive within excess water in their worm bed as they cast worms repeatedly over. If you’d like the worms to develop and reproduce, every week once is an ideal time.
FAQ
How do you grow worms at home for fishing?
The following list contains crucial items: Choose the right spot to place the Worm bins, also known as Worms.
How do you make a worm farm for beginners?
Six Simple Ways To Install Worm Bin. Where can I find the bins? … Purchase the worm bedding. … Addworms. Then. … Put food scraps on your bedding. … It is then covered by a clean newspaper, then set it inside. … a.k.a. The bin should be placed on top of the.
What are the best worms to farm for fishing?
Nightcrawler Worms of a variety of varieties, such as edible fish species such as of Canada as well as Europe Nightcrawlers are great fishing worms since they’re attractive, large worms that move around like crazy. This amusing Worm is loved by anglers.
Can you put raw fish on a worm farm?
Remember that worm farms aren’t required to have all of the components and are more likely to consume seafood, meats, and even bones. The acidity in a worm house can be lowered through the addition of egg shells crushed and burning ash into your house in the absence of it.
Mr. Mcman
I am Mcman a fish lover. I love fishing since my childhood as may father was also a fisherman. I share all of my experiences in this blog. Stay connected with me to know new findings on Fishing.